Teacher's Guide: Add Text!
Overview
This is the first of three lessons addressing how to add and manipulate graphical text in programs. This lesson focuses on the basics of using the label function to add text to the screen. To support this use of text, the lesson also delves somewhat deeper into working with the String data type. Most importantly, it formally introduces + as a String concatenation operator.
More about the lesson
The use of label presented in this lesson is straightforward. label adds text based on the calling sprite's position and orientation, with the optional Numeric second argument specifying font size.
When used in an expression involving strings, + functions as the concatenation operator. In expressions containing a mix of data types, Javascript coerces non-string data into strings, regardless of order of appearance. For example, 5 + "5" and "5" + 5 both evaluate to "55". When using + in conjunction with strings, Coffeescript even converts objects to a string representation. For example, the expression blue + turtle generates the String "blue[object Object]".
Notes to activities
The activities are designed to give students some experience working with label while continuing to apply the skills they have developed thus far in the curriculum. Note also that several of the activities will be expanded upon in subequent lessons. For example, in the next lesson, students will turn the mockups of clocks produced in this lesson into functioning timepieces.
The lesson activities Countdown, AndTheWinnerIs, and RPS require students to alter labels, but that is a task which students are not yet equipped to do. At this point, their only option is to erase labels and replace them with new ones. Because they cannot (yet) reference individual labels, they have to erase all labels, using either cs or cg. As noted in the Add More Turtles! lesson, cg does not delete sprites, while cs removes all but the default turtle. The obvious drawback to using cs or cg in these programs is that erasing labels necessitates erasing all other graphics as well. This is a significant and noisome limitation which will be addressed in the Label Recycling! lesson. In the meantime, students' effort to code the workaround is a good exercise in problem solving. One solution is to makes clever use of speed, await, and pause to achieve the desired effect. Alternatively (and more simply), draw on a custom sprite rather than on the background canvas, so that artwork will not be affected by calls to cg, as illustrated in this alternative solution.
LabeledLuckyStreak provides students with a number of computational thinking challenges. You may need to remind students that they can exit a for loop using a break statement embedded in an if statement. (A while loop is the canonical solution, but students have not yet been introduced to indefinite iteration.) The illustrated solution places the coins horizontally, based on an assumed maximum number of coins. Alternatively, a student might first compute the number of flips and only start the animation once that value is known. Yet another, simpler solution is to avoiding lining the coins up at all—simply place coins randomly about the screen, in succession, as they are "flipped".
Additional activities
- ColoredLabels: The expression
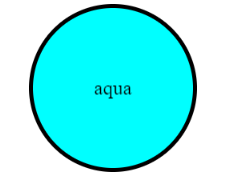
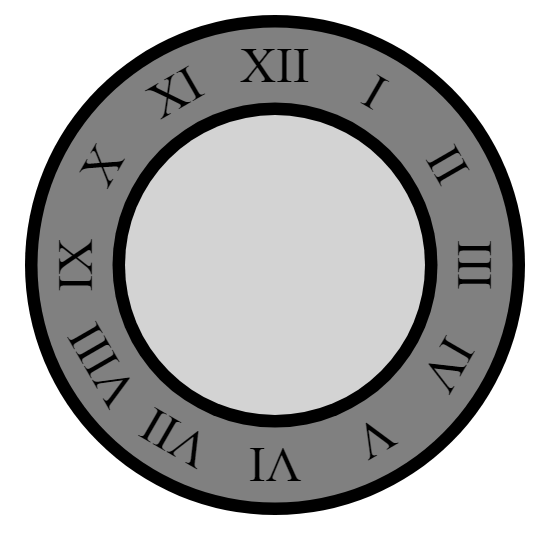
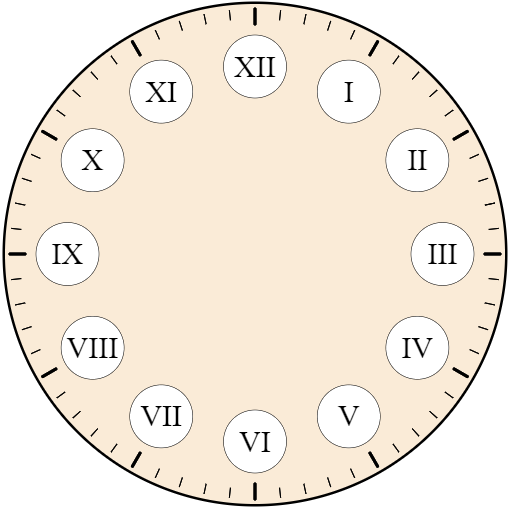
random(color)does not actually pick colors from the list of predefined colors. (Instead, it creates them using thehslfunction, an alternative torgb, based on "hue, saturation, and light", described in the teacher's notes to the Colors! lesson.) However, the list of predefined colors can be accessed via the built-in Pencil Code arrayjQuery.turtle.colors. Create a program that iterates over this array, drawing a dot using that color, and labeling it with its name. - RomanClockFace: create a new variant of the AnalogClockFace program, but this time use roman numerals (e.g., I, II, III, IV…). Note: the simplest approach to this activity is to iterate over an array of strings, such as
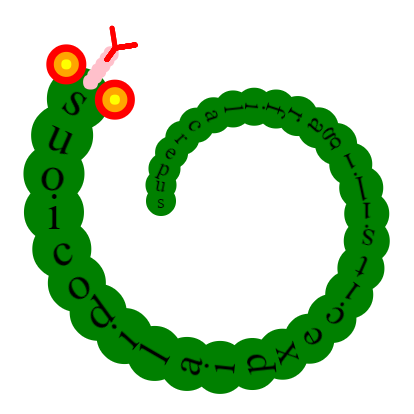
labels = ['I','II','III']. (In fact, providing studetns with an opportunity to use arrays in this fashion is a motivation for the activity.) That approach is sufficient for this activity because it requires a fixed set of Roman numerals arranged in cardinal order. LabelSnake: You can treat a string like an array when you use it in a for loop. For example,

Capitalize on this fact to make a label in the shape of a snake:
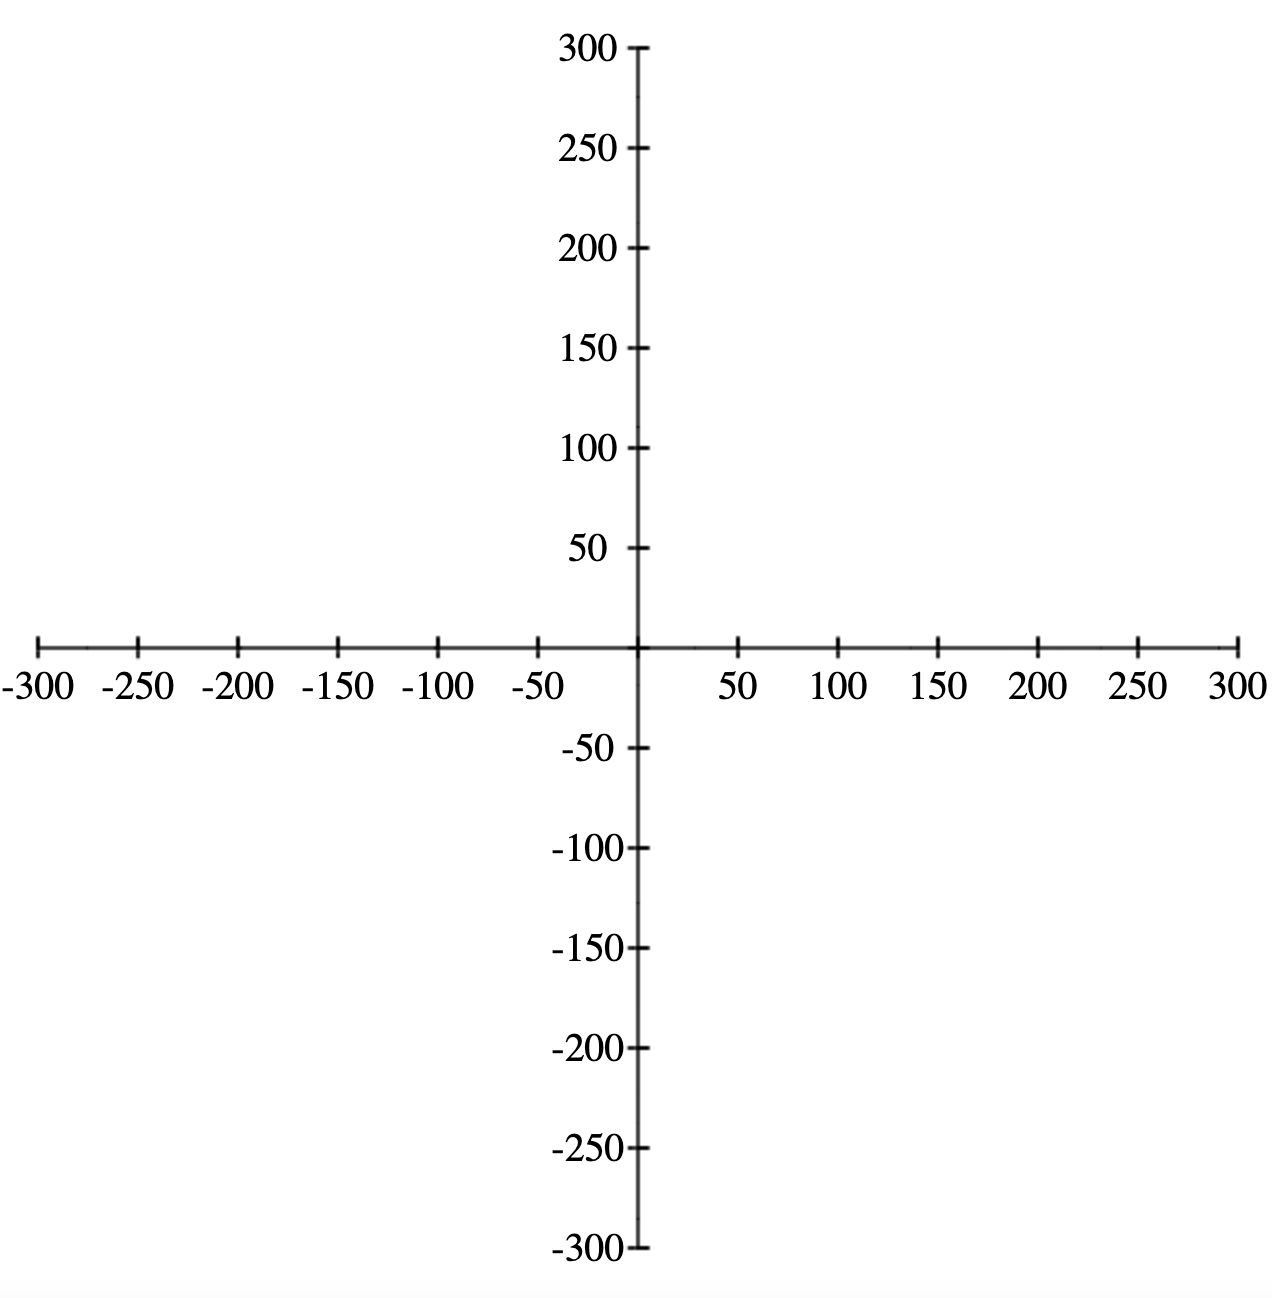
LabeledAxes: Create a program similar to the MathAxes program from the Notes to the Coordinates! lesson, with the added feature that the tick marks have labels. For an extra challenge, make the program draw the largest graph possible, given the screen dimensions and hard-coded values for the increment of each tick.
Beyond the lesson
label formatting and manipulation
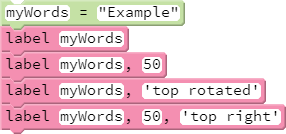
label provides additional functionality beyond what is presented in this lesson. For example, Pencil Code provides a means to control the positioning and orientation of labels via an optional string argument, as illustrated in the following snippet:
Position text above or below the sprite using label side values 'top' or 'bottom' and/or to the side using 'left' or 'right'. Labels are drawn by default to the same orientation of the sprite that draws it, unless you specify a label side, in which case it defaults to a horizontal orientation. Include the word 'rotated' in the label side argument to have the label’s orientation match the sprite’s. Use of these options is illustrated in this script. While the use of these other label formatting options can be useful in the short-term, they will be obviated by subsequent lessons on controlling these and many other formatting features via objects.
label's most powerful features cannot be addressed until after students have learned more about the Javascript Object data type. Thus, the curriculum will first take a detour to address that fundamental concept for several lessons, returning to label afterwards with a lesson (Format Labels!) providing instruction on how to access CSS (Cascading Style Sheet) features that can be used to control a range of text formatting properties. Students will subsequently learn to modify and otherwise manipulate existing labels, and in the process learn about the jQuery ID selector, in the lesson Label Recycling!
String literals and template literals
The handout notes that strings can be coded with matching pairs of either single or double quotes. They can also be created with matching sets of triple quotes (introduced initially in the teacher's notes to Code Music!) and pairs of backticks (e.g., `, described in the Technicalities section below). The formal term for a string, regardless of which type of quotes are used, is a string literal.
For the purposes of this lesson, there is no difference between using single or double quotes, except that pairs of double quotes can contain single quotes, and vice versa. For example, "this is a 'valid' string" and 'this is another "valid" string'. However, double quotes allow for a useful feature called template literals, which will be introduced to students in the lesson Math, Mod, and More!. Template literals are a variant on the string literal which permit evaluation of variables embedded in strings (sometimes referred to as string interpolation), simplifying expressions that would have otherwise been created using concatentation. For example,
"This is the " + n + "th example."
simplifies to
"This is the #{n}th example."
HTML phrase tags
The label function creates an HTML <label> element positioned at the current location of the sprite used to create it. In creating the <label> element, Pencil Code parses the string you provide it as HTML. This means you can add additional HTML tags within that string to modify how that text will be rendered on screen. Of these tags, the simplest to use are phrase tags, which modify text in a way intended to convey semantic meaning. A complete list is demonstrated by w3schools.com, and include <kbd> (keyboard input, typically rendered in monospace font), <em> (emphasis, typically rendered in italics), and <strong> (strong, typically rendered in bold font). To use the tags, simply embed them as matching pairs in the string passed to the label function:
label "A <em>coding</em> example: <kbd>x = x + 1</kdb>"
which produces the following graphical output:
Note that in earlier variants of HTML, the tags <b> and <i> were used to change text to bold or italic. These tags still exist, but their use is discouraged, limited only to cases to when none of the other phrase tags provides the appropriate semantic context.
Additional HTML tags
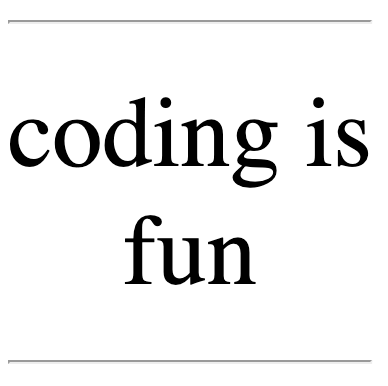
The <br> and <hr> tags insert a line break and a horizontal rule (i.e., a line), respectively. For example,
label "<hr>coding is<br>fun<hr>", {textAlign:"center"}
yields:
<br> and <hr> are referred to as empty tags because, unlike most other tags, they do not have content. They therefore also are not expressed with a start tag and an end tag like most others tags (e.g., <p> must be followed by <\p>), but stand alone.
The <span> tag is an inline container tag which is frequently used in conjuntion with CSS or Javascript to mark up subsets of text within labels, such as changing the font, font size, or color, as well as adding decorations such as underline or overline. Formatting rules for a span container can also be hardcoded into HTML using the <span> tag's style attribute, as illustrated in this script, which yields:
Note that CSS style attributes such as color are the focus the Label Formatting! lesson, which explores modifying such attributes programmatically with CoffeeScript.
Comparison operators and lexicographical ordering
As discussed in the Notes to the Comparison Operators! lesson, the standard comparison operators (>, >=, <, <=, ==, and !=) accept string input. Use of such comparison operators is intuitive so long as comparisons are made between strings consisting solely of upper or lower case letters. However, with mixed case, a deeper understanding of of Javascript's lexicographical ordering is required. In short, all upper-case letters appear before all lower-case letters, so that the Boolean expression "ant"<"cat" evaluates to true but "ant"<"Cat" evaluates to false. A more complete illustration is provided here.
The default lexicographical ordering of string comparison owes to the character encoding used by the web page, a topic discussed in the Technicalities section of these notes.
Evaluating strings
Strings representing expressions and statements can be evaluated using the eval function. , e.g., eval('5+5') or eval('answer = x == 25').
What can go wrong
Missing spaces and line breaks
Strings passed to the label function are processed in the browser as HTML. As a result, repeated spaces are eliminated, as are line breaks created with the newline character (\n) or embedded in strings created with matching sets of triple quotes. For example, label "Big Space" will create the label Big Space and
label """Two
Lines"""
will produce the label TwoLines.
To force multiple spaces between letters when the string is rendered in HTML, use the HTML character code for a non-breaking space, . For example,
label "Big Space"
yields Big Space.
To produce a line break in a label, use the HTML <br> tag, e.g.,
label "Two<br>Lines"
Labels on Sprites
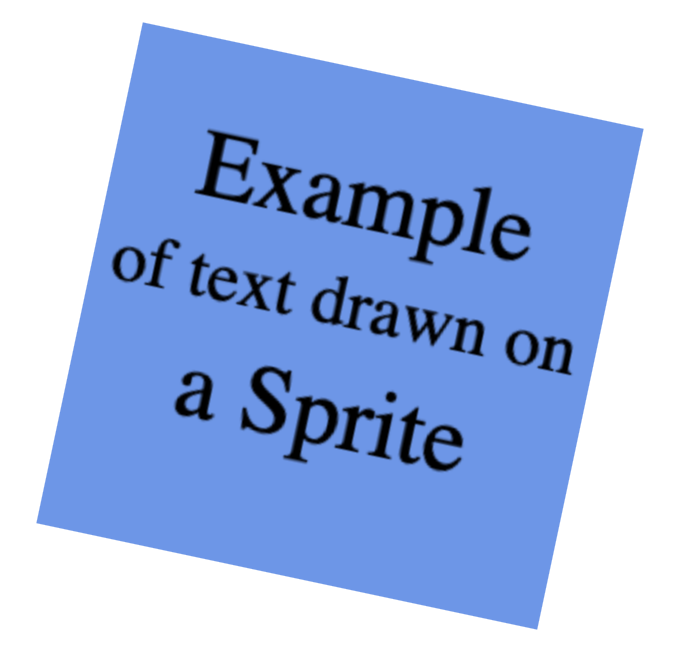
Students will likely be disappointed if/when they attempt to write words on a sprite using the label function, such as by preceding the call to label with a call to drawon. This will not have the desired effect. As noted in the Technicalities section of this document, label does not add text directly to the background (which is an HTML <canvas> element) but instead creates a new HTML element just for the text.
Adding text to a canvas element requires direct interaction with the HTML <canvas> element. Click on the image below to see an example:
Technicalities
Alternative functions for text
In addition to label, Pencil Code offers the ability to add graphical text output using the functions write and type/typeline. As with label, these alternative text functions render text to the screen based on HTML elements. However, each accomplishes this using a different type of HTML element. Some of the features of each text-function alternative are presented below.
Inconsistencies between the behaviors of each text function make learning all three impractical and counterproductive. This curriculum opts to use label primarily based on the fact that it functions in a way most consistent with student use of sprites, in that it positions and orients text based on the position of the calling sprite. The other functions are not sprite-specific. By default, these functions position text in blocks beginning at the top left corner of the screen.
Working with text created with label does present some additional challenges, in particular with respect to manipulating and/or modifing labels once they have been created. However, in forcing students to deal with these challenges, the curriculum weaves in advanced concepts (notably, jQuery selector syntax) in an authentic and enriching way.
write
write takes a single string argument. It creates an HTML <div> element, with the position property set to static, the default for <div> elements. As a result, write positions text on the screen according to the "normal flow of the page", which starts in the upper left corner, with subsequent calls to write positioning elements below. (Contrast this with label, which sets the position property to absolute, which positions it relative to the nearest positioned ancestor—in this case, the calling sprite.) The positioning of graphical text created with write is only affected by other elements created through calls to write, type/typeline (addressed below), and img (see the Notes to the Images! lesson). All other graphics (turtles, sprites, and drawings on window) have no effect on the positioning of text generated with write.
An advantage to the write function is that it returns a pointer to the HTML element it creates, making it straightforward for students to subsequently manipulate the element and/or modify its text. For example, the following code creates text with write, repositions it at the origin, and periodically updates the text to count down from three to one:
display = write "countdown"
display.home()
replacements = [3,2,1,"fin!"]
for word in replacements
  pause 1
  await done defer()
  display.html word
  display.home()
label does not return a pointer to the HTML element it generates, making it comparatively more difficult to use. Students will learn how to assign a variable to a label element (and thus be able to modify its content, properties, orientation, and so on) in the Label Recycling! lesson.
Note that neither label nor write is "better" than the other. Each has its own nuances of use, which can be comparatively easier or more difficult to use in specific situations, and both can be coerced to achieve the desired outcome. For example, the following code uses label to replicate the produced above with write:
label "Countdown", {id:"countdownLabel"}
display = $("#countdownLabel")
replacements = [3,2,1,"fin!"]
for word in replacements
  pause 1
  await done defer()
  display.html word
  display.home()
type and typeline
Like write, the type and typeline functions take a single string argument. These functions create an HTML <pre> element, positioning it on the screen in a manner analogous to write. Text in a <pre> element is "preformatted," meaning it is displayed in a fixed-width font (usually Courier) and it preserves both spaces and line breaks denoted with \n. The only difference between type and typeline is that the latter function embeds a newline character at the end of the text it produces onscreen.
There are a variety of nuances to using type. Multiple calls to the type function will result in the previous one being continued, unless the write or img function has been called, in which case a new <pre> element is created and positioned below according to the "normal flow of the page."
The most challenging aspect to type/typeline is that it does not provide a reference to the element it creates. Like label, it is possible to derive a reference to elements created with type, but it is significantly more difficult to do so.
Using the Sprite constructor
The Pencil Code Sprite constructor can also be used to add HTML elements containing text. Simply pass the constructor a string containing your text enclosed between a set of relevant HTML start and end tags, and it will place the new sprite at the origin. As the following example illustrates, this approach works with a wide variety of tags, including paragraphs (<p>), headings (e.g.,, <h1>, <h2>), or even ordered lists. U
Moreover, as this simple script illustrates, the text of those sprites can be easily updated using their text or html methods.
Writing text directly to the canvas element
Rather than add an HTML element for text, such as <label> or <div>, it is also possible to add text directly to the existing background HTML graphical <canvas> element or to the <canvas> element of a specific sprite. This option was illustrated above, in the discussion of What Can Go Wrong. Another simple example is provided here:
The code is not overly complex, but it does involve some features which are likely to be distracting for students at this stage. For this reason, students are not introduced to these concepts until the Custom Functions! lesson.
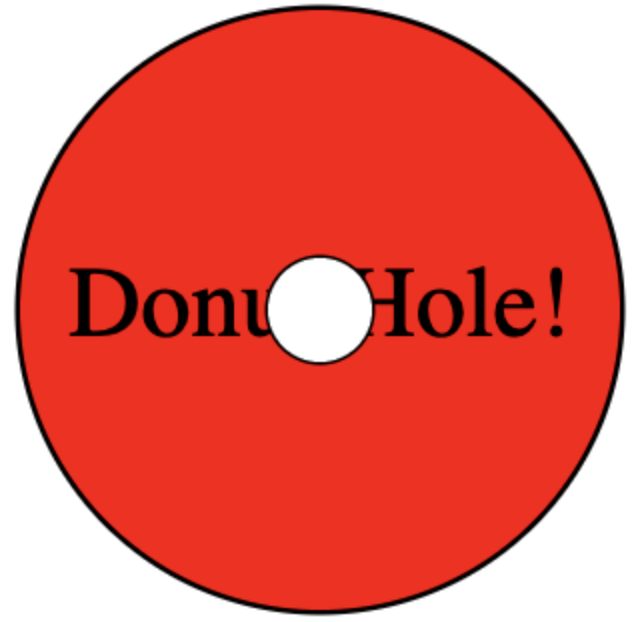
There are several advantages to writing text to an existing <canvas> element in this fashion. The text becomes part of the background canvas or sprite, and as a result, it moves with subsequent moves of that sprite. Moreover, that text can be overwritten in part or entirely using familiar functions, such as dot or pen, as illustrated in the "Donut Hole" example above. Also, adding text to an existing element rather than creating new HTML elements, such as by using label, can lead to performance benefits in programs with many elements. Aside from being a bit more difficult to code, the main drawback to adding text to an existing <canvas> is that that text cannot be subequently modified or manipulated as a separate element.
Character Sets / Encoding Standards
No lesson on text would be complete without a discussion of characters sets and encoding standards. However, students generally will not need to know much about these concepts, except in nuanced situations, such as when trying to access "special characters", such as ¡ or ¿ (and even then there are often convenient workarounds, such as using named HTML codes). One notable exception relates to understanding the results of comparisons of strings, such as why "dog">"cat" evaluates to true but "DOG">"cat" does not. Comparisons such as these depend on the underlying encoding standard, as the character-to-number mapping of the standard dictates the lexicographical ordering of the comparison.
A character set is a list of characters. An encoding standard (or scheme) provides the rule or mapping by which these characters are represented in binary, so that they can be stored in computers.
In the world of computing, character sets have long been standardized, to facilitate communication between systems. Though historically there were multiple competing standards, the American Standard Code for Information Interchange (ASCII) has long dominated the field, both as a character set and an encoding standard. ASCII was the first character set/encoding standard used between computers on the Internet.
ACSII uses only 7-bits of computer storage, which allows for a mere 128 (= 27) characters. Unicode is a modern character-set alternative to ASCII that, as of Version 15.0, contains nearly 150,000 characters. It is an international character encoding standard that provides a unique number for every character across languages and scripts. The Unicode character set is a superset of ASCII, which means the codes 0 to 127 have the same meaning in Unicode as they have in ASCII.
Unicode is represented in one of three encoding standards: a fixed-length 32-bit form (UTF-32) and two variable-length forms, UTF-16 and UTF-8. UTF-8 is by far the dominant standard for the world wide web and other internet technologies. For the ASCII subset of Unicode, UTF-8 uses one byte (8 bits) of storage (matching the ASCII encoding exactly). For other characters it uses up to four bytes (32 bits).
ASCII tables can be found via simple web searches (such as this w3schools reference); wikipedia.org provides a usefully formatted Unicode reference.
The character set of Unicode is truly vast, and ever-growing. It includes the alphabets of various languages, symbols from mathematics and many other fields, emojis, and more.
The widest single character in Unicode is shown below. It is Arabic for bismallah ar-rahman ar-raheem, a Quranic invocation meaning, roughly, "In the name of God, the most compassionate and the most merciful."
Accessing non-ASCII unicode characters involves using some special codes. This script provides some illustrations, including for the Arabic character shown above.
