Teacher's Guide: Images!
Overview
This lesson shows students how to add images to sprites using the wear function. Additionally, it introduces the slide and mirror functions. slide is an indispensible alternative for moving sprites about the screen in a manner that is consistent with their orientation. mirror reflects images about their primary axis to give the appearance of an image facing the other direction.
More about the lesson
Image files
The lesson begins with examples of the Pencil Code image-search feature because it provides a very low floor for getting started with image-sprites. Additionally, the t- syntax highlights the goal of seeking images with transparent backgrounds.
However, Pencil Code's automated image search does not consistently provide satisfactory results. Students will therefore want to seek out images on their own. A good source for publicly available images is freepngimages.com, though the options are limited. Web searches are the obvious alternative. Encourage students to include the terms "transparent image of a" in their searches.
The key to successfully referencing other files via URL is that they must be actual image file. This will typically appear as URLS that end with a valid image file extension, such as .png, .jpg or .webp. Because URLs are often quite long, the use of variables to reference information will benefit readability:
dogURL =  "https://pngimages.com/images/high/cute-dogs-png-bkv41-qzmn9oik8y4u2gij.webp"
wear dogURL, 200
slide
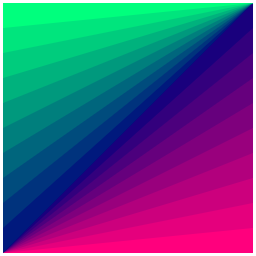
The slide function is introduced in this lesson as an indispensible tool for moving image sprites around the screen in a manner that agrees with their natural orientation. slide also facilitates drawing triangular shapes of any proportion without using trigonometry. Students can explore this use via the additional activity TrianglesArt, below.
mirror
The mirror function accepts boolean values true and false as well as their CoffeeScript aliases, yes/no and on/off. Note that mirror does not appear as a coding block, so it must be typed in.
The fact that mirror takes a Boolean value as its argument provides an opportunity to introduce the Boolean data type. There is no need to give a thorough introduction now, however, as Boolean values and logic will be explored in detail later, in Conditional Logic! and subsequent lessons.
Editing images
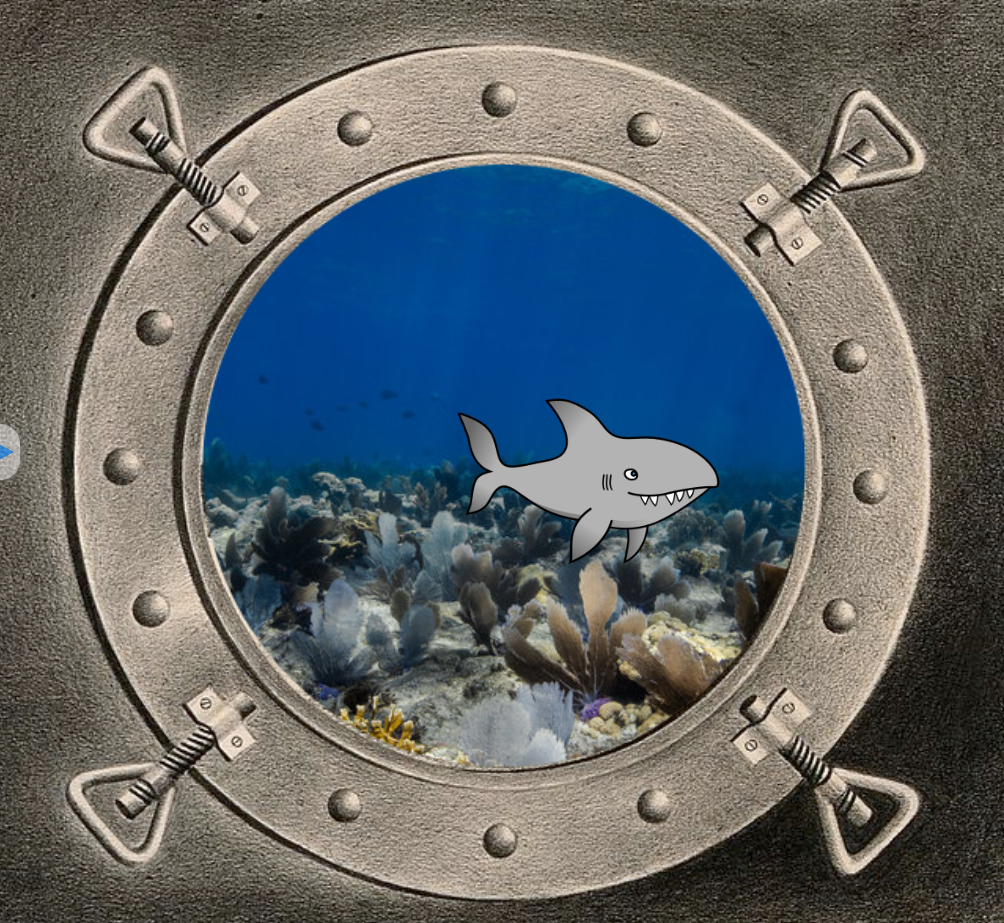
Sprites that have images added to them using wear can be drawn on, just like any other custom sprite, using the drawon function. For example, this alternative solution to the SharkTank activity uses images not only for the background seascape but also for the tank, with a porthole cut into it with dot erase, following the same approach as with a custom sprite.
The ability to edit images is also useful for removing excess material from around the edges of an image (i.e., to crop the image), as done in this alternative variant of the illustration of Hairdos. The trick is to fill with color erase after tracing out the region(s) to be cropped.
Notes to activities
The first two activities are designed to familiarize students with use of different aspects of the wear function. Likely the most challenging aspect to these activities will be locating images that can be successfully loaded into Pencil Code. In fact, even when students identify an image URL with an appropriate extension (.png, .jpg, etc.), the image may fail to load. There is no avoiding some trial and error at this stage. But you can help by keeping an eye out for coding errors (e.g., failing to wrap the URL in quotes) that can easily compound difficulties at this stage.
For some extra fun: Students often find it amusing to incorporate the say function in their programs when working with images or people, animals, or other characters.
Additional activities
- The
slidefunction allows us to easily draw an infinite variety of triangles without having to worry about computing angles. Capitalize on this fact to create some cool TrianglesArt: - Use
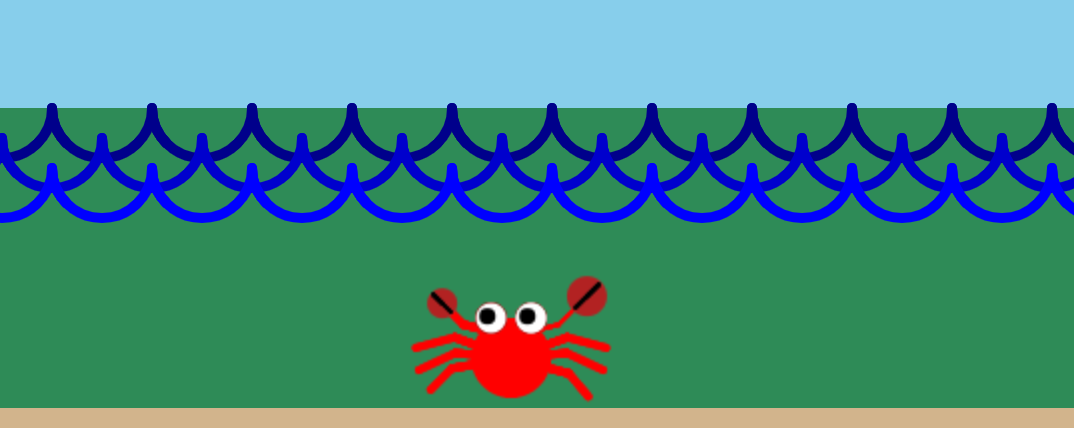
slideto draw a parallelogram centered the turtle's current location, based on the lengths of the parallelogram's diagonals (i.e., the center of the parallelogram is at the intersection of the diagonals, which is also their midpoints). Then use this code in a for loop to construct a SlideStar. With creative use of a nested for loop, you can create a FeatheredStar variation. - Create an OceanCritter (or find a relevant image) which slides back and forth randomly on the ocean floor, using
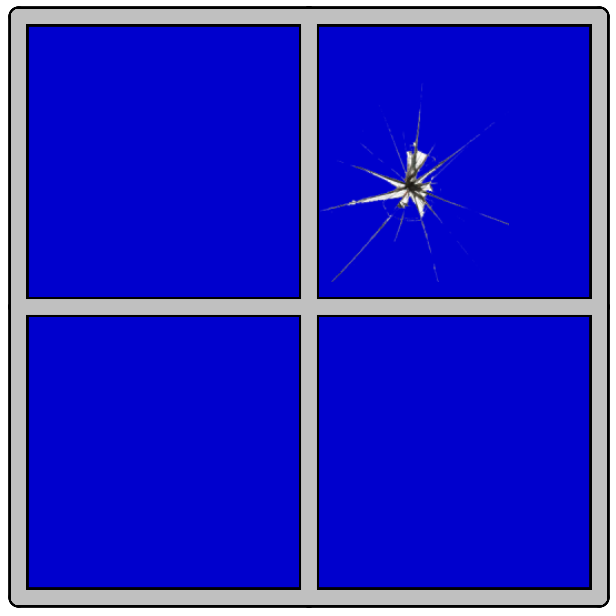
mirrorto ensure that it faces in the appropriate direction as it moves. Also include simple waves, which should move (i.e., slide) back and forth as well. - BrokenScreen: Find a transparent image of broken glass. Incorporate this into a program that simulates a window breaking, or perhaps some other piece of sheet glass—such as your computer screen!
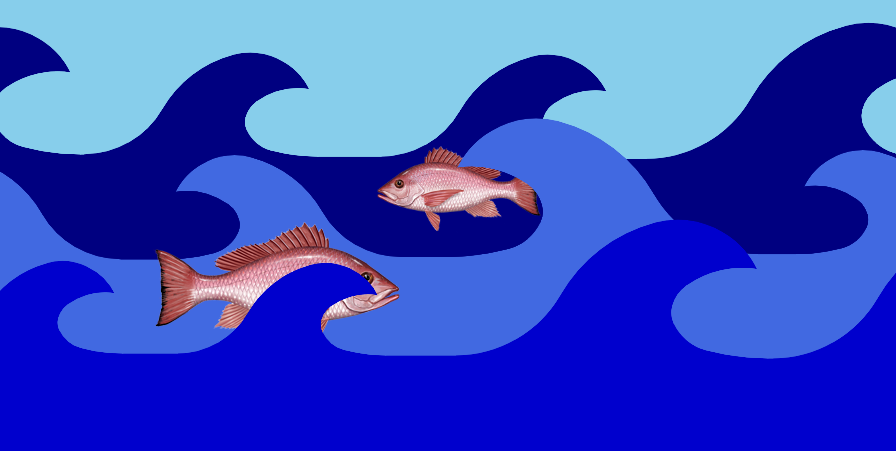
- Explore the order of adding sprites with a Waves program. Have multiple layers of waves, each moving back and forth, with fish behind, between, and in front of various layers.
- RecycledSprite: The notes to the Custom Sprites! lesson describe how to save an image of a custom sprite. If you haven't done so already, modify the script for one of your previous sprites to save a png image of it. Then, create a new program which loads multiple copies of that image, setting each to a different size and moving them in an interesting way.
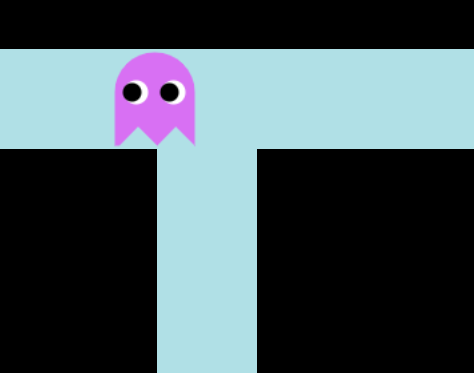
- PacManPreliminaries: use the images created for the GhostSprites activity (one of the additional activities to the Custom Sprites! lesson), to model motion for ghosts that can be used for a knockoff of the classic arcade game. Coordinate the movements of the sprites so that collectively they appear to be one sprite moving, with its eyes always pointed in the direction of motion. To emulate the movement of ghosts from the original game, you'll likely need to use a combination of
hide,show,slide, andsync.
Beyond the lesson
Alternatives to wear
Images can be added to Pencil Code programs using a variety of methods. This curriculum favors using wear to add images to sprites because it is a straightforward follow-on to using the Sprite constructor and it provides the user with the ability to specify the size of the rendered image.
An alternative approach to add an image is to pass an image URL (or an appropriately-specified string argument, e.g., "t-dog") to the Sprite constructor. While straightforward, this approach does not allow the user to specify how large to render the image onscreen. As a result, the resulting image-sprite's size will depend on the dimensions of the underlying image, in pixels. In contrast, wear permits the coder to specify the height of the rendered image.
The Pencil Code img function (listed under Art in the coding blocks palette) provides yet another alternative. This function, however, places images on screen based on a different logic than sprite constructors used so far. Additionally, the image loaded cannot subsequently be modified, whereas images added with wear can. For a more detailed look at the img function, see the Technicalities section of this document.
Importing own images
The notes to the Custom Sprites lesson describe how to use the saveimg function to save an image of a custom sprite. These image files can be imported much like any other image file. However, because these images are already on the Pencil Code server, there are two issues to be aware of, one that can provide some additional flexibility with respect to specifying URLs, and the other involving a potential pitfall. Both issues are illustrated in this script, which reads in an image saved as DiamondStar.png.
The first example in the script illustrates the use of a relative URL to reference a file in the current account. As this term suggests, the file address is specified in terms relative to the location of the current script. In the simplest case, when the image file and the script are in the same folder, there is no need to specify a path: wear "DiamondStar.png" would suffice. However, the file in the example is in fact stored in a neighboring folder. In cases such as these, the relative location can be specified using the .. symbol. The URL "../09-CustomSprites/DiamondStar.png" instructs the brower to go up one level to the folder containing the current program (i.e., the parent folder), where it should find the 09-CustomSprites folder (which happens to be the folder corresponding to where that image was created), in which it will find the sought after file, DiamondStar.png.
Alternatively, users can use an absolute address to acces images stored on the Pencil Code server, including images stored in other users' accounts, as they have for other image URLs. However, when doing so, the path of the image seen in the Pencil Code account must be modified slightly, to replace the term edit with home. The correctly specified URL should look like this:
https://hacker.pencilcode.net/home/12-Images/Notes_SavedSprites
For students to use images in programs that were created outside of Pencil Code, they need to be able to load them to the web. Pencil Code does not provide a means to upload photos to student accounts. The most straightforward workaround is to make use of image sharing sites such as imgur.com. However, some schools' web filters may block popular image sharing sites owing to inappropriate content that can be found on them. Google drive provides a reliable and safe alternative, but using it to share photos requires a number of additional steps. Instructions are provided in here:
Image orientation
In addition to mirror, two other functions can affect the orientation of an image shown on a sprite. (This applies both to images as well as custom-drawn sprites.)
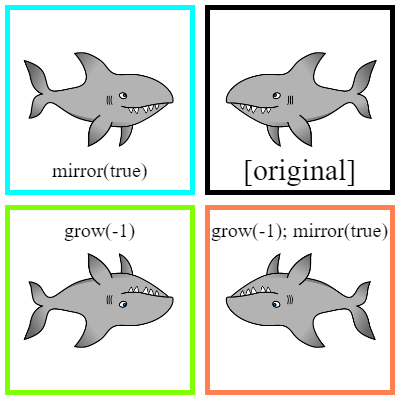
grow: Negative arguments to grow cause the image of the sprite to rotate 180°. (Equivalently, this can be described as a reflection about the central point of the sprite.) Combined with calls to mirror, this gives the user the ability to orient an image four ways, as illustrated in this program:
twist: Imported images at times will be oriented in a way that complicates use of movement functions fd, bk, and even slide. For example, when you instruct the image to move forward, it moves up, which may not agree with the orientation of the picture. For images that are "off" by multiples of 90 degrees, the use of slide is a simple solution. However, for images that are rotated by other amounts, even that work-around falls short.
The twist function changes a sprite's orientation by rotating it with respect to its main axis. Note that when it does this, it is the image itself that rotates. The axis itself stays put (facing north if the sprite has never been moved. Subsequent calls to movement functions, such as fd, will continue to function based on this orientation. This is illustrated below, for the image of a frog:

Additional effects of home
In addition to returning a sprite to its original starting position and orientation, calls to home also reset its size and orientation, counteracting the effects of calls to grow, scale, mirror, and twist.
Stack order of Sprites
In the lesson, it is noted that the order of sprite creation determines which is front or in back. This is not the full story. The CSS z-index property controls the stack order of an element. An element with greater stack order is always in front of an element with a lower stack order. The following code puts an image of a frog on top of the default turtle, which, by default, is always on top:
As the snippet above illustrates, accessing the z-index property requires familiarity with JavaScript objects, as well as CSS-property usage in Pencil Code, both of which are still several lessons away. The requisite background on these topics will be provided in the Custom(ized) Objects! and Format Labels! lessons, respectively.
What can go wrong
Image URLs
A web search on images often yields thumbnail previews that are not actually direct links to the underlying image files. Have students make sure that when they copy URLs that it ends with a .png, .jpg, .gif, or .svg extension. If not, they need to click through until they find the actual image.
Moreover, even when students identify an image URL with an appropriate extension, the image may fail to load. Typically this happens on sites that are in the business of selling images. In such cases, students may just have to look elsewhere, or get creative in some other way (e.g., take a screenshot and load the image to a public server, as described above).
Pedagogy
Conventions
A convention is the way something is usually done within a particular activity. They are not as strong or rigid as rules, but they are nonetheless useful. In coding, we come across many conventions. A convention we encountered earlier on involves variables. Variable names typically begin with lower case letters and continue with camel case. However, if they are describing a constructor, they begin with upper case letters, and for variables that won't change values—constants—the convention is to use all upper-case letters, with words separated by underscores. These conventions are valuable because they make it easier to read and interpret code, and help us write code that others will likewise find readable.
In this lesson we encouner another convention, relating to the arguments in the slide function: the x (horizontal) value is stated before the y (vertical) value. This convention arguably comes from math. In any event, we will see it again and again as we learn additional functions in future lessons. Moreover, we previously saw a similar, related convention in the Sprite constructor, in which width was listed before height. For example, new Sprite("100x50") produced a sprite twice as wide as it is tall. Use of conventions in this case make it easier to write code, because it is easier to remember the order in which to list arguments. Later on, when writing our own functions and constructors, we will want to be sure to adhere to these conventions as well.
Technicalities
Delays in loading images
Depending on the size of the image file and various network considerations, the process of loading images can cause notable delays in programs, detracting from the user experience, and potentially leading to timing errors in how the program subsequently runs.
In the simplest cases, including those that students are likely to encounter in this lesson, the program will look glitchy at first, as a turtle or a translucent square sprite appears temporarily until the image fully loads and is rendered. In such cases, a simple but effective remedy is to begin with a transparent sprite. That way, nothing appears until the image loads. Alternatively, one can choose to hide the sprite prior to the call to wear, and make it visible again at some later point.
A more serious issue involves the fact that images are loaded by wear asynchronously, meaning that subsequent lines of code can continue to execute before the image is fully loaded and rendered. Not surprisingly, unless appropriately addresed, the resulting timing issues can cause a program to fail. Timing issues of this nature are addressed in subsequent lessons of this curriculum, beginning with Array Destructuring! As those lessons will explain, we can force the call to wear to execute await and defer:
await wear URL, defer()
An example of this technique is illustrated in this script.
The img function
Pencil Code provides an alternative to the Sprite constructor, the img function, which enables the coder to create and size an image-sprite in a single step. For example,
img may appear to be a useful shortcut to the two-step process of constructing a sprite and then adding a sized image with wear. However, this course opts not to introduce img, as the source code underlying it is significantly different from the alternatives, with subtle but important implications for the user. Admittedly, the differences are relatively minor, and a well-informed user can work around all of them. They become an issue, however, because students are unlikely to remember these nuances; and the inconsistencies between the behavior of image sprites created with the different approaches can become a source of frustration.
The Turtle and Sprite constructors generate HTML <canvas> elements. Images are added to these <canvas> element either during initialization (if the image URL is passed to the constructor) or later using wear. Because the image is added to a <canvas> element, we can subsequently draw on it using standard Pencil Code drawing techniques.
The img function, on the other hand, generates an HTML <img> element with a src attribute set to the image URL. As a result, this image cannot be drawn upon. While this may not typically be a concern, students typically overlook this nuance and thus later can become perplexed when their image sprite does not behave as they would otherwise expect. For example, sprites created with img aren't full-fledged Pencil Code sprites, as they don't automatically have an HTML class attribute of turtle assigned to them. Though this is remedied easily enough (see the Label Recycling! lesson), the necessary step is likely to be overlooked. As a consequence, image "sprites" created with img will not work well in animation queues when used in in conjunction with calls to await/defer. This type of error can be truly perpelexing and hard to debug!
One thing the img function can do that the other approaches cannot is accomodate animated gifs. An example is provided here:
Sprites with images drawn on <canvas> elements cannot be animated, because it is a static drawing. The only way to make it animated would be to write code that constantly redraws new images.
The background-image attribute
Another way images can be added to sprites is via the background-image attribute, a feature of the <canvas> element. In fact, this is how a Pencil Code Turtle's body (i.e., with the moving arms) is rendered. As with images added to a HTML document using <image>, images added to <canvas> elements via teh background-image attribute cannot be manipulated. However, each Turtle's shell is drawn on the <canvas>, and thus you can draw on using the draw function, as the following script illustrates:
Base-64 data-URI
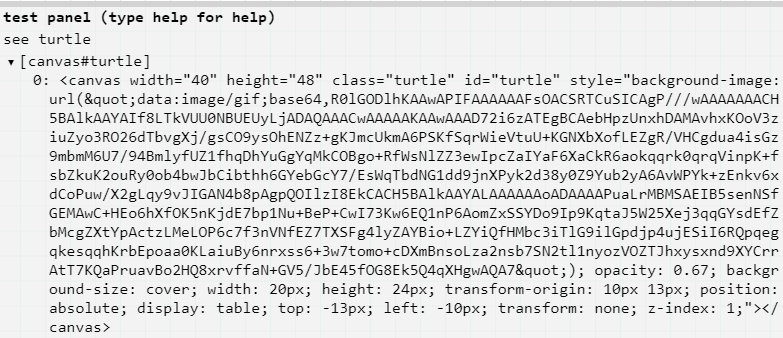
Yet another approach for including images in Pencil Code programs is to use the data URI (uniform resource identifier) scheme. Data-URI provides a way to include data in-line in web pages as if they were external resources. An example of a data URI in use is the Pencil Code turtle sprite. It's data URI can be found through inspection of the turtle in the test panel (click on the image for a script that obtains this data programmatically):
Use of the data-URI scheme is explored in several files in this Pencil Code folder. The notes in these files provide links to resources to generate data URIs from image files, as well as instructions for using data URIs in scripts to create sprites.
One drawback to data URIs is they cannot be used with wear, at least not directly; attempts to do so will clear the sprite's canvas, making it invisible. One workaround is to first create an <image> element using img, then pass the reference to this object to wear, as illustrated at the bottom of this script. Alternatively, data URI coes can be used to add an image to an existing sprite by specifying its CSS background-image style property (CSS properties will be explored in the Format Labels! lesson.) However, the drawing features in Pencil Code require the image to be drawn to a <canvas> element, rather than specifying the background-image, so this approach is not without its own limitations.
Uploading Images: FileReader
Files can be uploaded from a user's computer to the Pencil Code server using the JavaScript FileReader object. Use of this feature involves many advanced concepts, including functions, callbacks, asynchronicity, and events. FileReader is therefore introduced much later in the curriculum, first in the Notes to the I/O! lesson and in greater depth in subsequent lessons.
